Your Cart is Empty
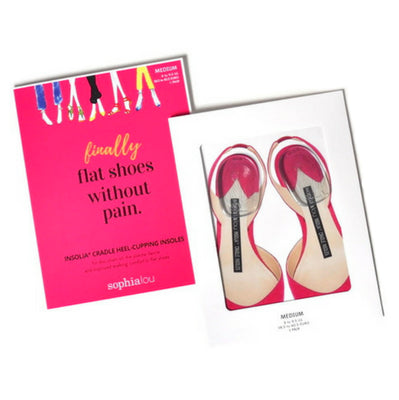
Our insoles are not one size fits all...because feet aren't either. Unlike other insoles and inserts, you don't have to trim or replace them.
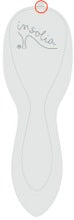
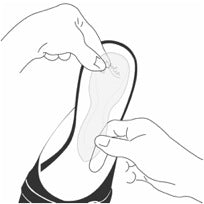
Start with clean, dry and lotion-free shoes. Select an insole. There is no difference between the left and right. Find the plastic tab of the backing liner. This is what you'll use to peel off the backing when the time comes.
Fold back the liner from the rounded end of the insole to expose just enough adhesive to hold the insole in place while you test positions. Fold down to the middle of the logo as shown in the drawing.

When the adhesive liner looks like the drawing, you are ready to install your insoles.
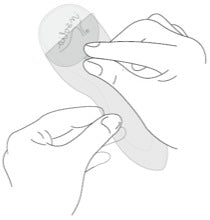
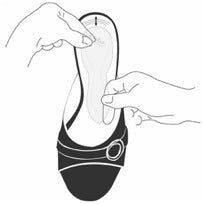
 Step 5: Place the Inner Sole
Center the wider side of the insole about 1/8 of an inch (3 mm) from the back of the shoe with the flat sticky side down. If your shoes are styled with a narrow arch, (see the shoe on the right), you may need to point the insole slightly toward the big toe side of the shoe.
Repeat in your other shoe. Try on both shoes. It's important to try on both shoes at the same time to determine correct placement.
If you feel a bump under your heel, move the insole very slightly toward your toe. If you feel a bump under your arch, move the insole very slightly toward your heel. You can also adjust side to side if necessary. Don't worry if the left and right insole differ in position. Positioning will vary by person, by foot and by shoe.

Once the insoles are comfortably positioned, press the already adhered end down with one hand and remove the remaining adhesive liner with the other hand. Press down firmly. Enjoy!