Your Cart is Empty
✨FREE shipping in US on orders over $75✨

Is there anything better than new shoes?
Is there anything worse than a nasty blister caused by your beloved new shoes?
To keep your love-hate relationship with heels from becoming too hateful, we’ve collected 3 ‘hacks’ to help you address blisters in an emergency situation.
Note: We are not medical practitioners nor do we play them on TV. These are tricks + quiet secrets shared between a sisterhood of high heel lovers.
:: Step 1: Tape it up.
As soon as you identify a “hot spot” or an area that will most likely turn into a blister, dry your foot and cover the area with clear packing tape. Yes, packing tape! It's larger, thinner and more likely to stay in place than a bandaid. This will prevent the skin from continuing to rub against the shoe. Be sure not to tape the foot too tightly.
:: Step 2: Donuts anyone?
If the blister has already formed, cover it with a moleskin ‘donut’ or ‘inner tube’. Cut a piece of moleskin (the kind with adhesive on the back) that is just a bit larger than the blister. Cut a hole out of the middle of the moleskin. The formed blister should ‘sit’ in the hole. Adhere the moleskin to your foot. You don’t want to cover the blister or put extra pressure on the already-sensitive area.
:: Step 3: Duct don’t duck.
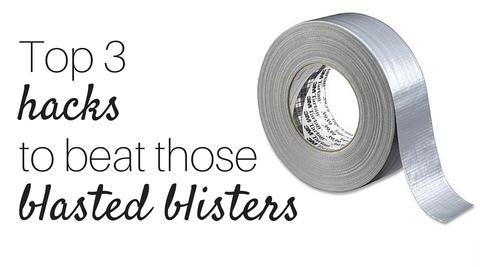
If the blister has popped and you want to cover it up, place a bit of Aquaphor, Neosporin or other ointment on the blister and cover it with duct tape. Again, tape! Hikers use this trick all the time. Make sure to dry your feet before applying so the tape sticks. Forget the bandaids - they never stay put!
If you're looking for some natural ways to prevent blisters (think butter and potatoes), read this post.
If you are serious about preventing high heel pain, be sure to add Vivian Lou weight-shifting insoles to your high heels. Not only do they shift weight off the forefoot, they prevent the foot from slipping forward which helps stop those pesky toe blisters.
